DIY Guide to Shoot Great Product Photographs
Online shoppers are not as keen on reading about your product as much as they want to see it. You shouldn’t take your product photography lightly, because after all, beautiful and professional images are the best marketing for your products.
Customers have grown too picky for you to undervalue the potential of quality product photography. As an online store owner, you surely already carefully researched your competition.
Your beautiful and professional product images will help you stand out from other online stores with similar products.
Your product photographs simply have to look professional. Don't worry if you're not a pro photographer or if you can't even afford hiring one. With a decent camera kit and a bit of skill you can do it yourself! We'll tell you how.
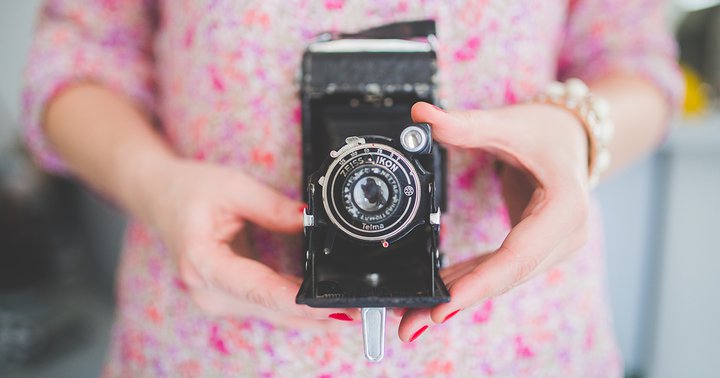
1. Your kit
For great product photographs you don't necessarily need a professional DSLR camera kit. Even with your point-and-shoot camera you can take equally good photographs. Worst comes to worst, you might even try your smartphone. Some smartphones have really great cameras and you can even get external lenses and tripods to turn your smartphone into a little camera kit. The most important thing of all is autofocus and at least 8 megapixels (the more the better).
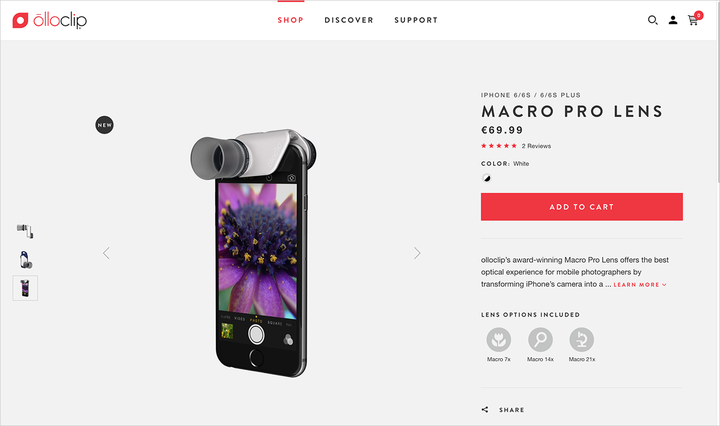
2. Lenses
Choosing the right lens for your camera might be a tough decision. Pick one according to what kind of products you sell. If you sell small objects, you might want to buy a macro lens. On the other hand, for shooting larger objects lenses with 50mm or 18-55mm focal lengths work perfect. There are many external lenses for smartphones available, too. If you took the risk of shooting your product photographs with your smartphone, invest in one of them - they will make your images look a lot better.
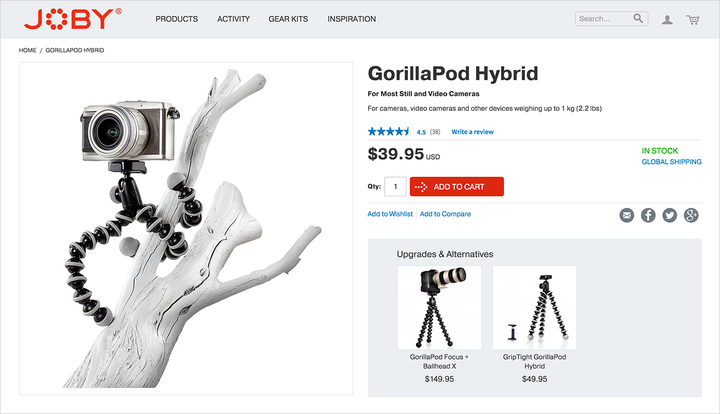
3. Tripod
Whether you're using a point-and-shoot camera, mirrorless, DSLR or a smartphone, a tripod is a must-have. Product images need to be as sharp as possible and you could never reach that level of sharpness without a tripod or a stand. There are all sorts of types of tripods and surely you can find the one suited for the camera you have.
4. Props
You might need some additional props necessary for the shooting such as a fashion mannequin, certain things to hold the products in the right position, stuffings, strings or the like. Start up your creativity when thinking of the best ways your products can be shot. Don't be afraid to improvise. If you think the product you sell would look best when shot floating in the air, think of a way to do just that!
5. Backgrounds
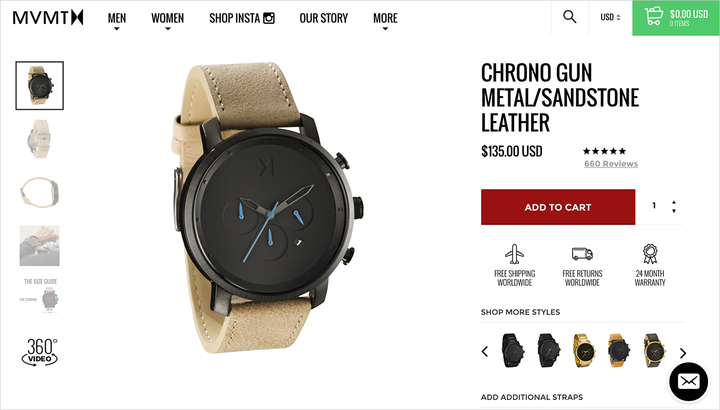
It is popular among online stores to showcase their products on a white or an invisible background. The reason for this is quite self-explanatory: nothing takes the attention of the shopper away from the products, they can focus solely on them. Invisible or white backgrounds work best for apparel, fashion accessories or electronics.
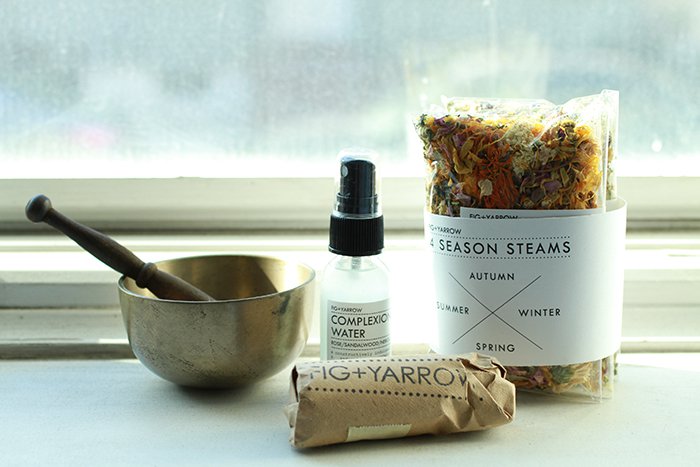
However, if you think some other kind of background would bring out your products best, go for it! For example, homeware products might look best when set and shot in a house interior. Products such as food or cosmetics look good on either blurry background or might even be photographed with various different props or matching items.
6. Lighting
Natural daylight is the best flash you can ask for. We advise you to always shoot photos during the day with mild sunlight. Avoid bright direct sunlight because there's the danger of overexposure. If you do your photoshoots in a darker room or during the evening, you should definitely use an external flash unit - it casts softer light than a built-in flash. When it comes to artificial lighting, use a lamp with the whitest light possible.
Good lighting will save you plenty of photo editing time as it preserves real colours of the products.
7. Editing tools
When you're done with your product photo shoot you might want to give your photos a bit of post processing. There are a lot of image editing tools available online. Choose one according to what suits you and your skills best. Keep in mind, though, that when it comes to editing enough is enough. Avoid too much colour saturation or too much retouching. Let your products look exactly like they do in real life: what you see is, after all, what you want to get.
So, now you know the essentials and what you're going to need to shoot perfect product images. Next time, we'll cover the process of a photo shoot and give you some useful tips on how to make your product photographs even better!